
This page is a step-by-step overview of Phone and TeleHealth appointments with your primary care provider at Family Care, PA. These visits are essentially secure audio and video conferences with your provider that can replace in-person office visits for many issues. The process for phone-only consultations is a bit easier (we just call you!), so this outlines the steps you’ll need to take in your Patient Portal account to establish a video connection.
You can use the Healow Application on your smart phone, or login to your patient portal using a computer (web cam and microphone required). The basic process is the same and we’ve included screen shots of both devices to help you navigate through either option.
The “waiting room” for your visit opens up 15 minutes before your appointment, so login early to make sure you are prepared.
Please call our office if you have any questions!
Joining a TeleHealth Visit on Your Smart Phone
This section covers how to register, check-in, and attend a scheduled video conference with your primary care provider by using a smart phone.
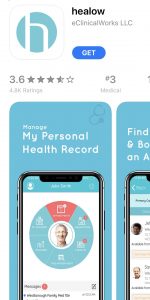
STEP 1: Download the Healow App.
Our electronic medical records system uses the Healow App to provide a secure messaging and information portal for our patients. You will need the app to participate in a TeleHealth visit.
- Healow in the iTunes Store.
- Healow in the Google Play Store.
- Use Practice Code “GIJCAA” to link your account with Family Care.
STEP 2: Schedule an Appointment
Call us at 919-544-6461, send a request through your patient portal account, or complete this email request form to set up a time for your appointment. We offer two types of remote appointments:
- Phone Consultation. This is an audio-only phone call between you and your provider. This is used for consultations that do not require a physical or visual exam.
- TeleHealth. This is a video chat between you and your provider. This requires the patient to be on a device with a camera, speakers, and using an internet connection.
There is generally no cost difference between choosing either option, but some insurers have strict requirements for the diagnoses that are covered under TeleHealth.
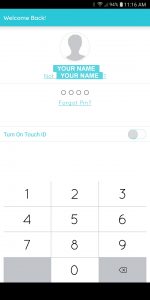
STEP 3: Login to the App 30 minutes before your appointment.
After setting up your account and entering Practice Code “GIJCAA” to link your app to Family Care, you will be asked to provide your personal PIN to login. Once you login, you’ll visit your account’s main page.
If you do not remember your username or password, use the “Forgot Password” feature on the app or visit our portal’s main website to reset the information on a computer.
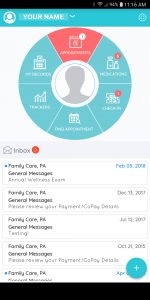
STEP 4: Click on the highlighted “Appointments” icon.
To Check-In for your visit, click on the top-middle “Appointments” button. This is the main screen for your Patient Portal account.
- Inbox: This contains all updates and messages from Family Care. If you have new lab results posted, or your provider sends you a message, or you receive a bill, your Inbox will have the notice.
- Medications: Lists your current medications and dosing instructions.
- Check-In: Complete forms and vitals for upcoming visits. This is duplicated in the Appointments screen for upcoming visits within the next 30 minutes.
- Find Appointment: This is completely useless. We wanted to allow more flexibility in scheduling than this app allowed, so we disabled this feature.
- Trackers: Helpful apps to track blood pressures, weights, and measurements.
- My Records: Summaries of previous encounters, diagnoses, medications, charges, etc.
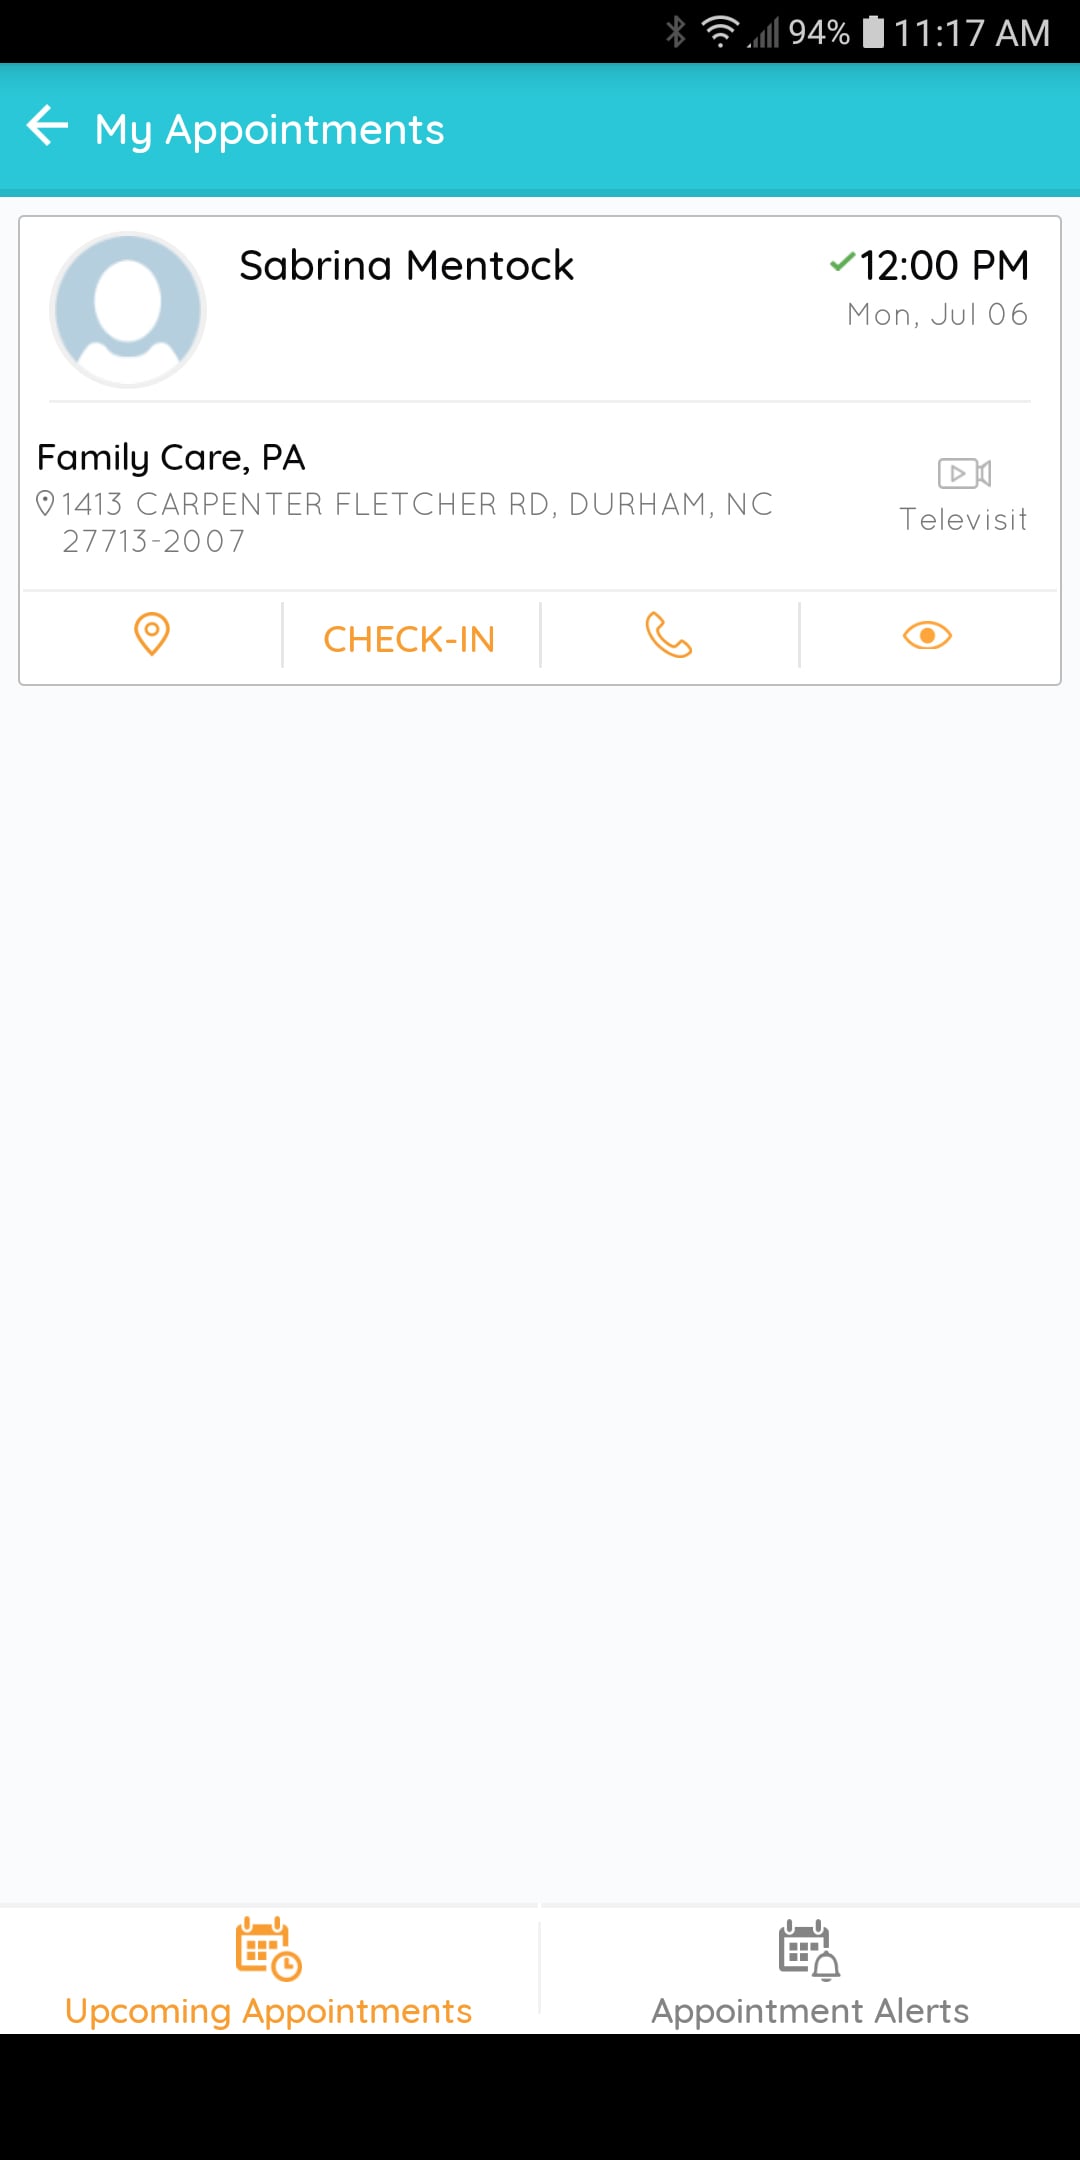
STEP 5: Click “Check-In” for your next appointment.
This screen will list recent appointments (within the last 30 days) and all future appointments.
- Map Icon: For in-person visits, the Map icon sends you to your preferred Map app with the destination set to our office at 1413 Carpenter Fletcher Rd, Durham, NC, 27713.
- Check-In: Click this to advance to your upcoming video appointment.
- Phone Icon: Click this to call our office by phone at 919-544-6461. Use this if you have trouble with any of these steps and need support.
- Eye Icon: View details of this visit.
- Appointment Alerts: Schedule push notifications to remind you of upcoming appointments.
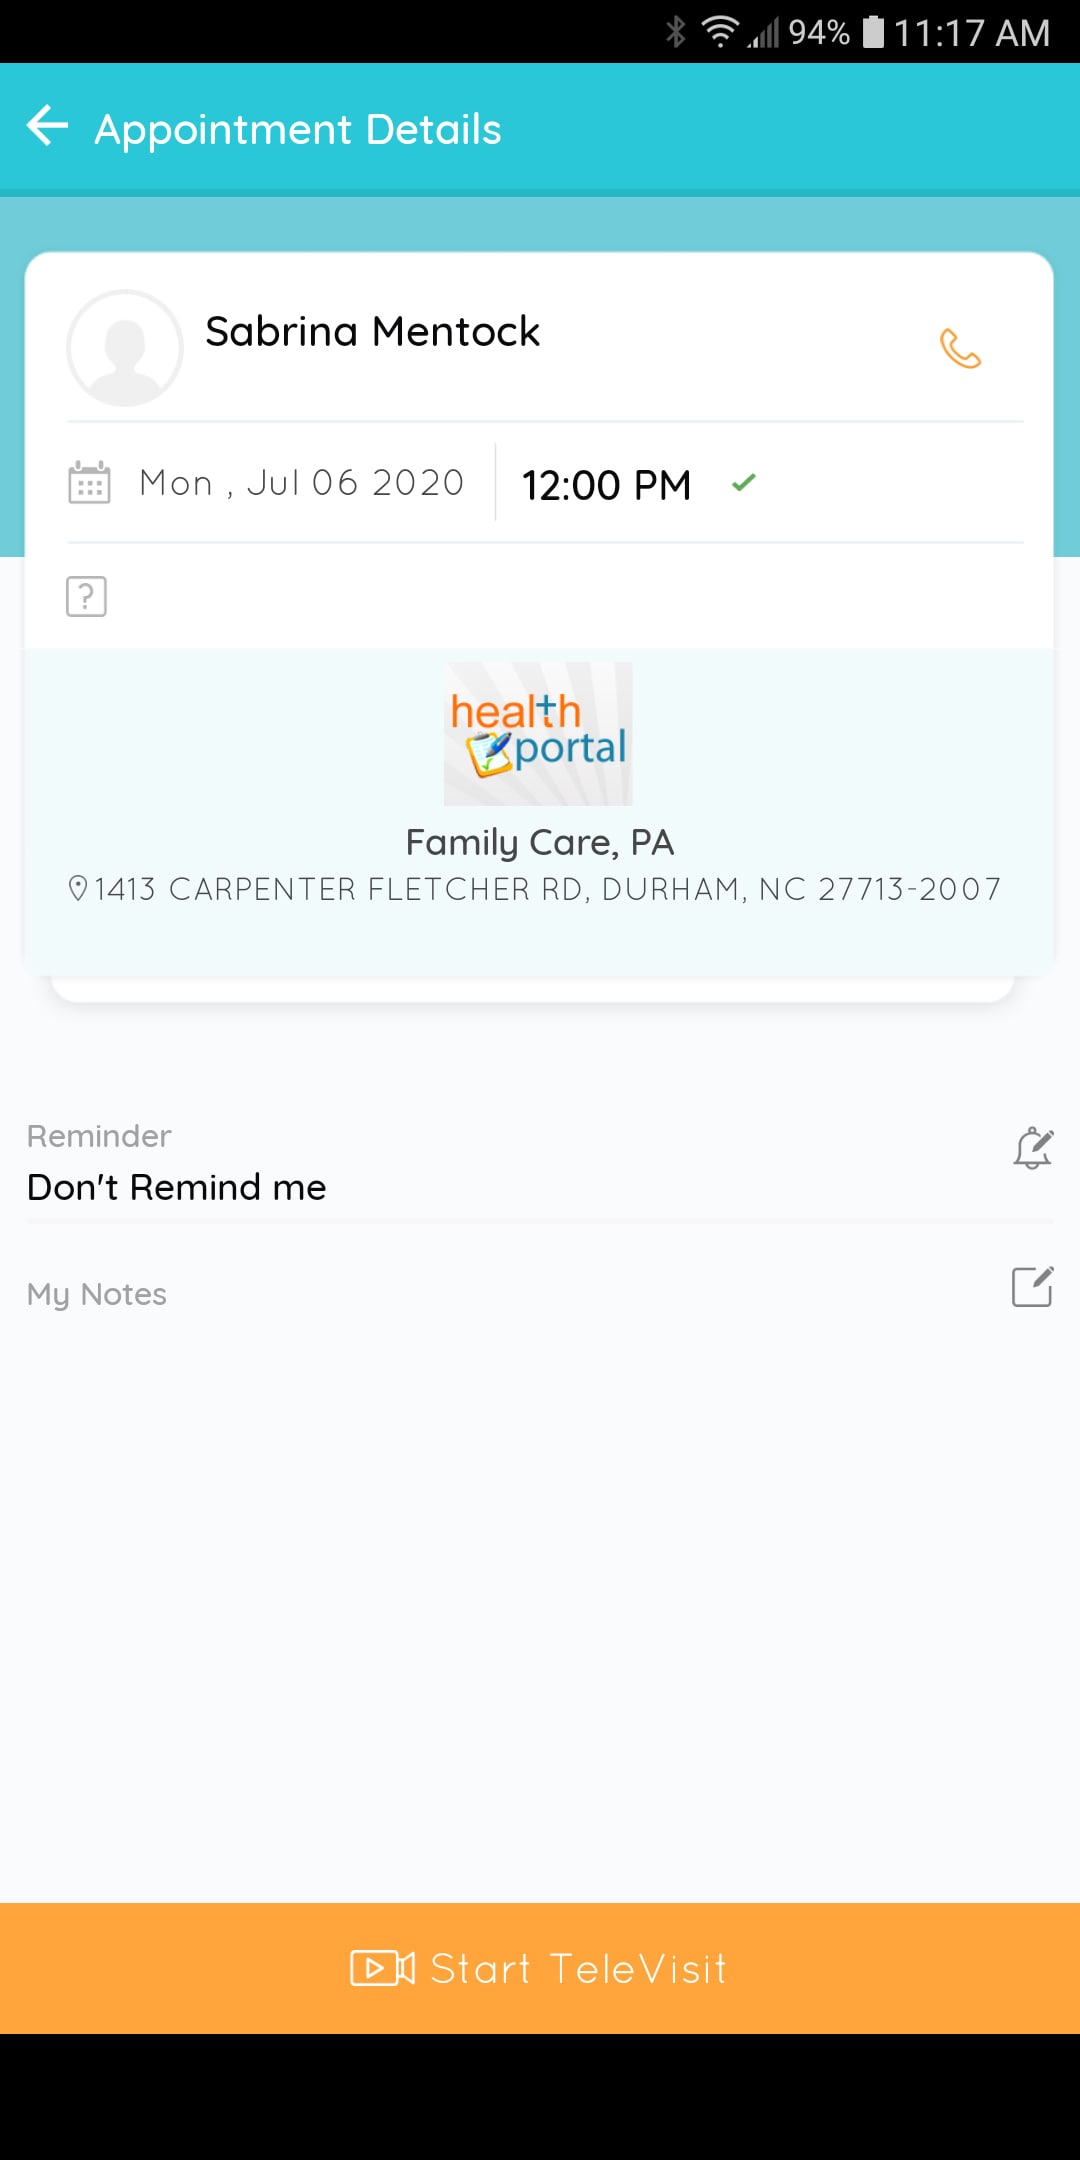
STEP 6: View the “Appointment Details” Screen
Once you have found your upcoming appointment and selected the “Check-In” option, you will be directed to a screen with details and notes. This is one reason to sign in early!
- Reminder: If you have upcoming appointments, you can always set additional reminder messages. Automatically, you will receive…
- An email and portal notice 1-hour after making the appointment, so you can add the scheduled visit to any calendar or schedule you need.
- A portal notice and a phone call 24-hours before the scheduled appointment time, to remind you of the visit.
- A text message 22-hours before the scheduled appointment time, if you don’t answer the phone call.
- My Notes: Pre-populate questions and concerns that you have for your provider. Tips…
- Make bullet-point lists. Separate by condition or medications. Ask every question you have about a certain topic, then move to the next topic. Visits are primarily billed based on face-to-face time with your provider, so being prepared helps keep the cost of your visit down, as well.
- What questions do you have? You scheduled an appointment for a reason. Write that reason down! Write any problems or concerns you have, and definitely all of the things you are doing well! Document your successes, along with your problems. Write what you want to tell your provider, and then tell them during your appointment.
- Start Televisit. This becomes active within 15-minutes of your appointment’s start time. You will still need to enter vital signs, click this when you are ready to speak with your provider!
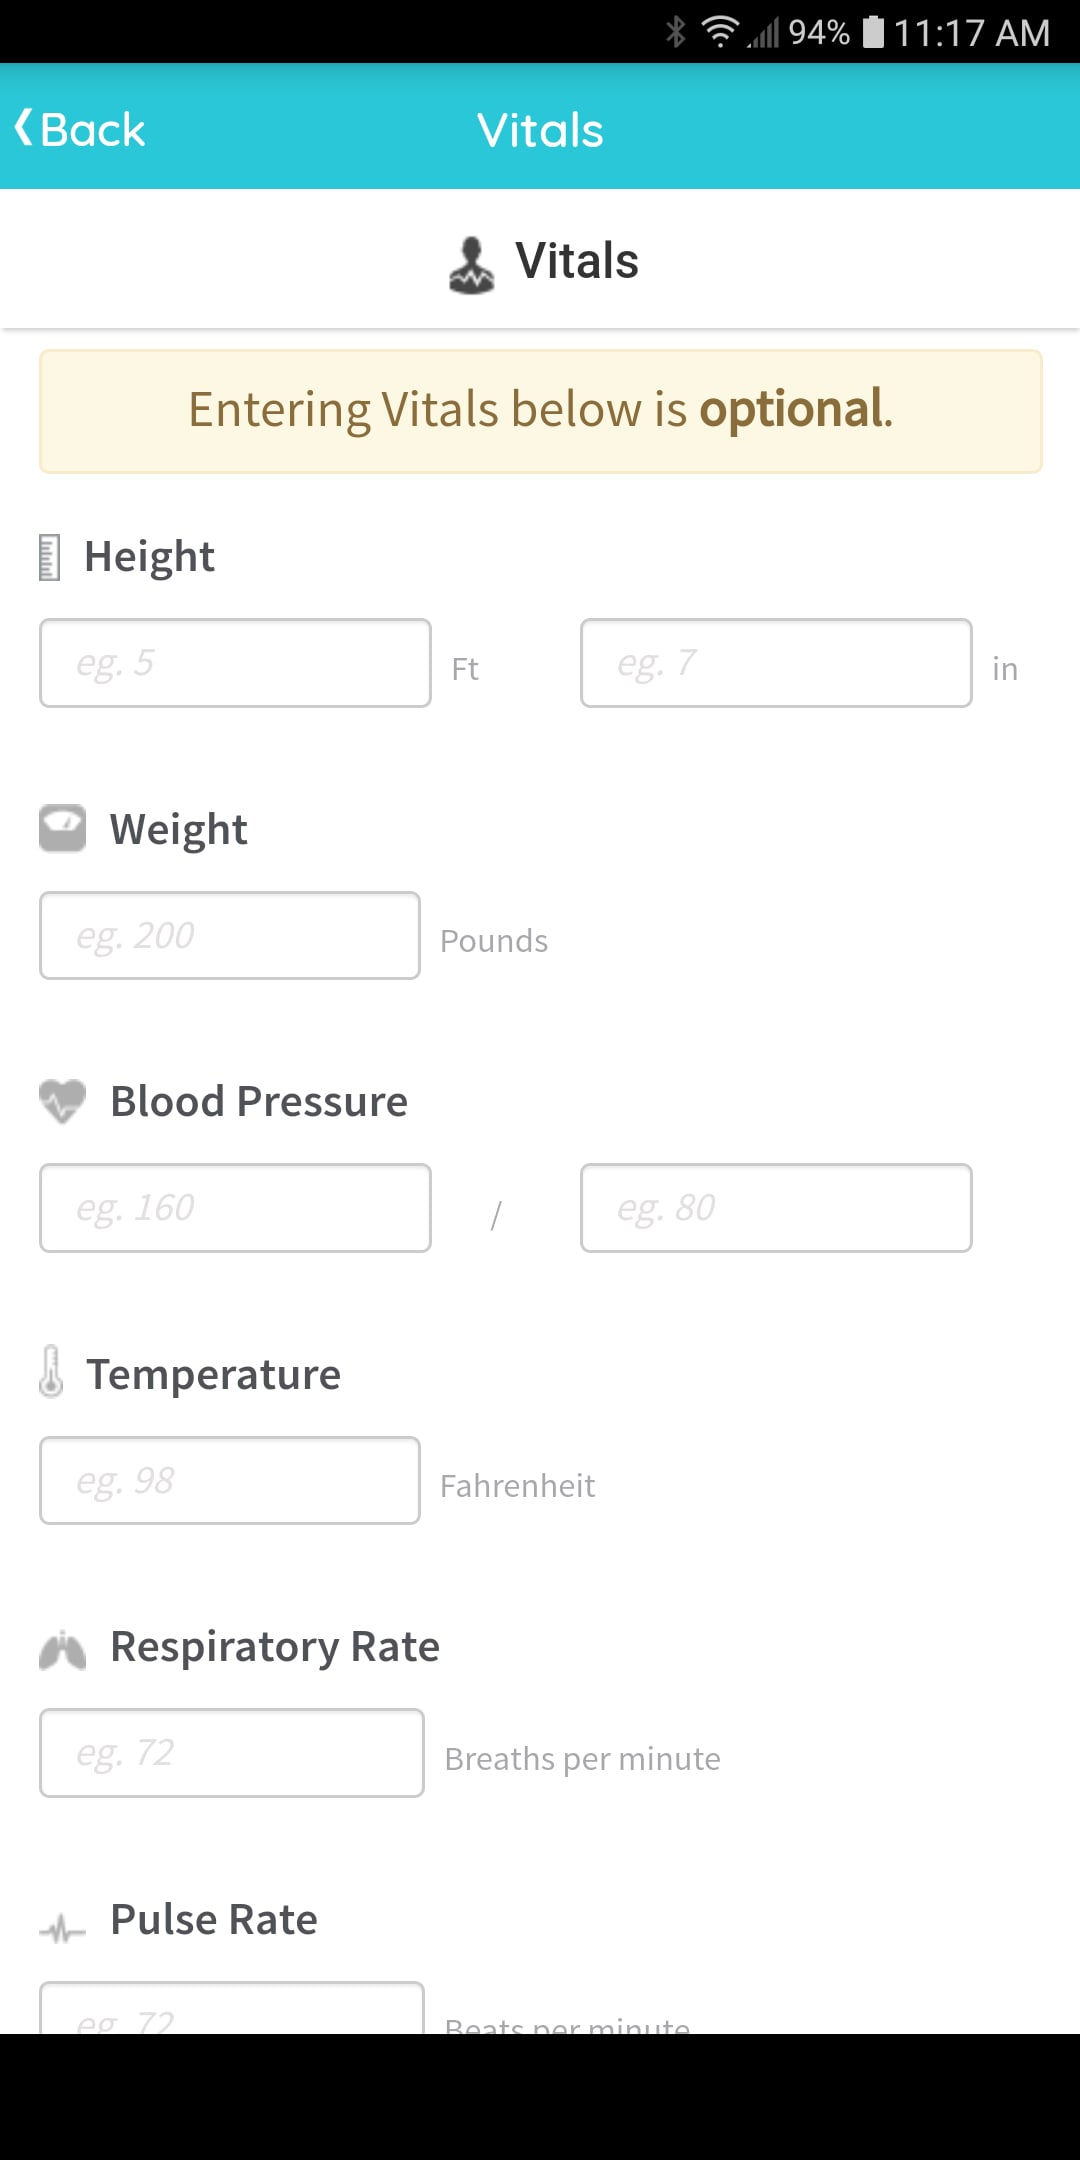
STEP 7: Enter your vital signs.
You have the option to leave fields blank, so please only complete items you have ACTUALLY measured. Do not guess! Just leave the field blank, if you are unsure. These values could impact your permanent medical record (spoken in the best elementary school principal voice you can imagine), so please make sure the values you enter have been verified.
If your visit is to diagnose an acute illness, please document your temperature and pulse rate. Enter these values as accurately as you can, with the average of multiple measurements. Please let your provider know of any struggles or inconsistencies you may have had with the documented results.
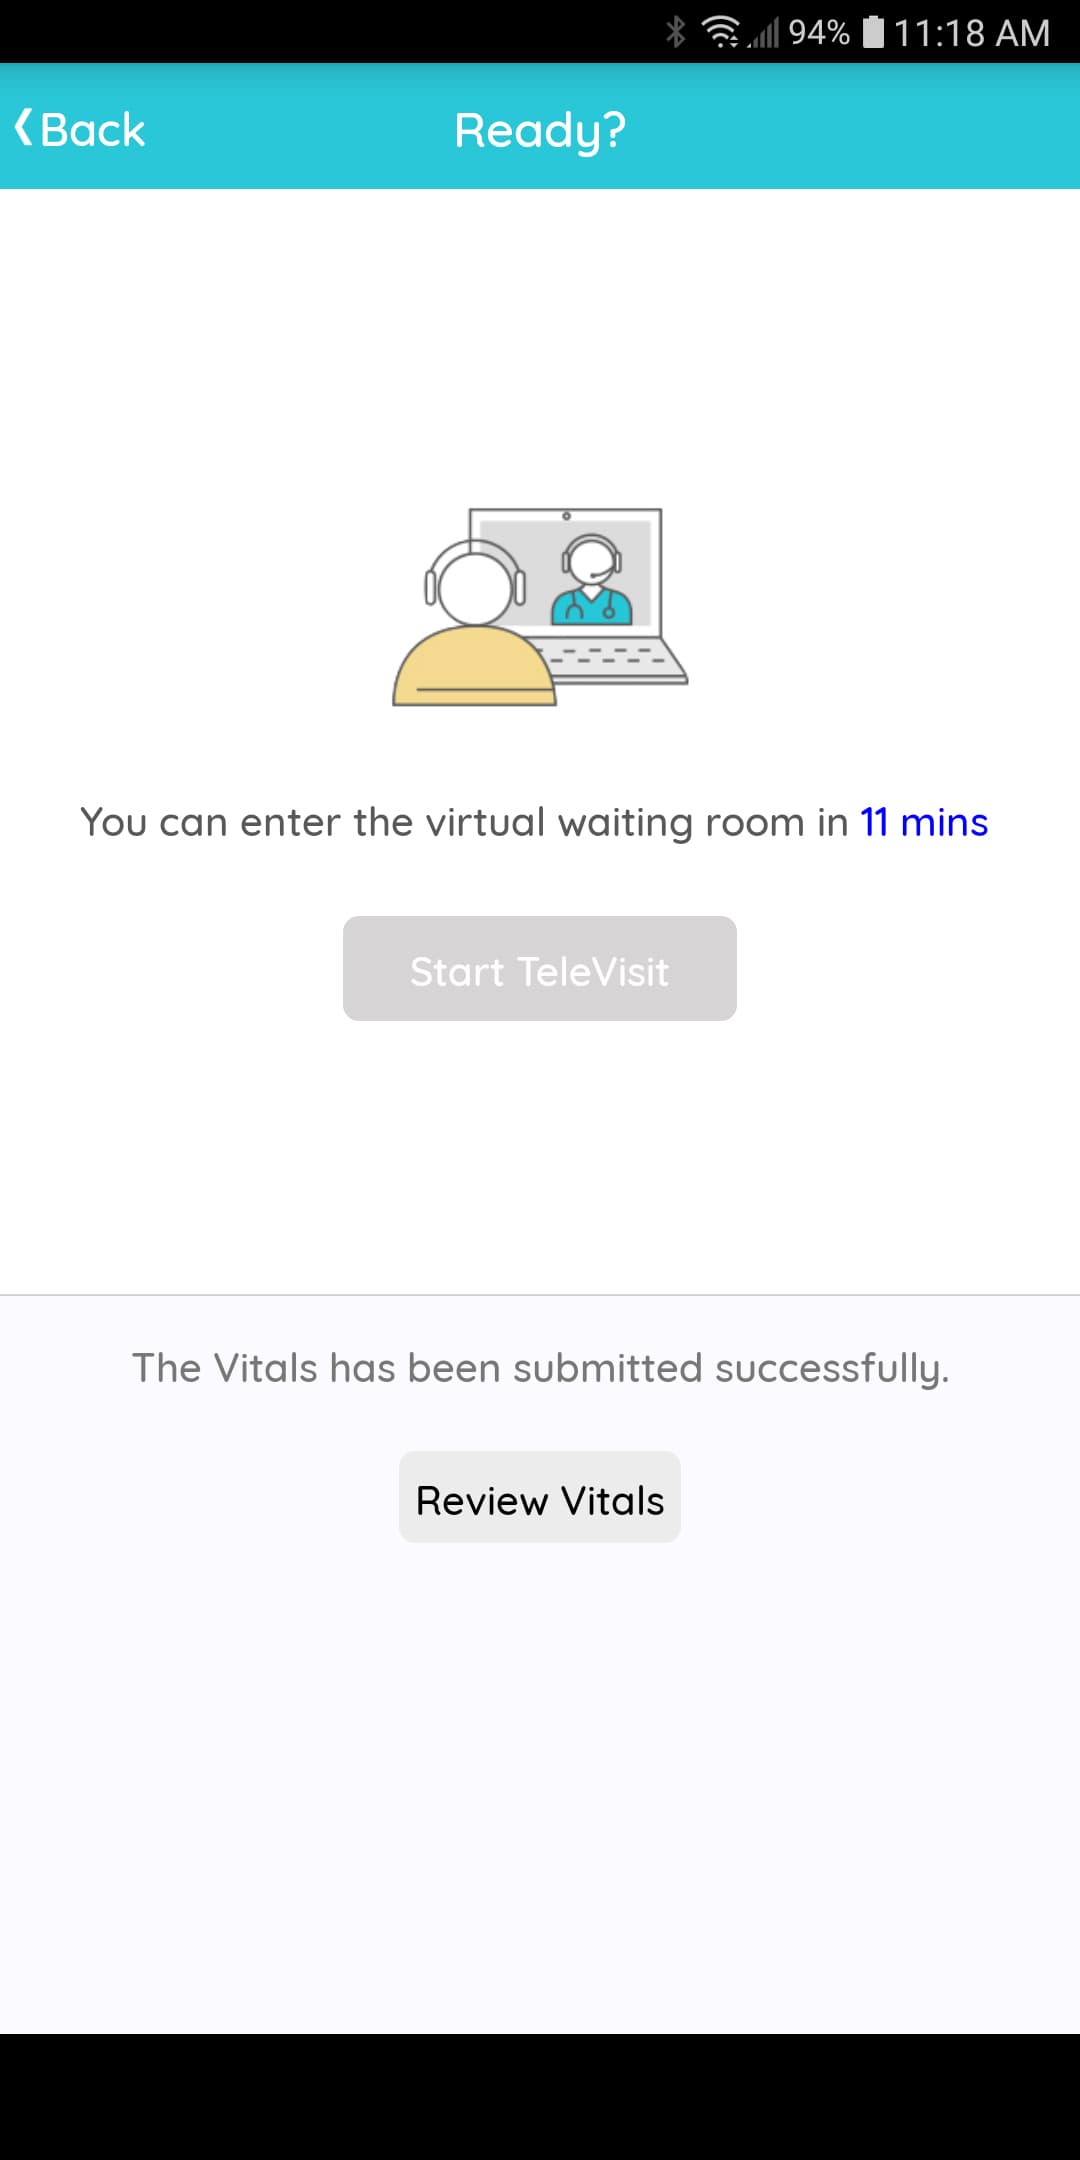
STEP 8: Wait in the Waiting Room!
You can enter the Waiting Room up to 30 minutes before your scheduled appointment. Click to Join, once the “Start TeleVisit” icon is enabled.
Because of our new, flexible schedule, we may be able to complete your visit early! The sooner you enter the TeleHealth waiting room (which opens 30 minutes before your visit), the sooner we can connect with you!
- Review Vitals: If you want to view or edit any of the optional vital information you entered on the last screen, tap here to edit.
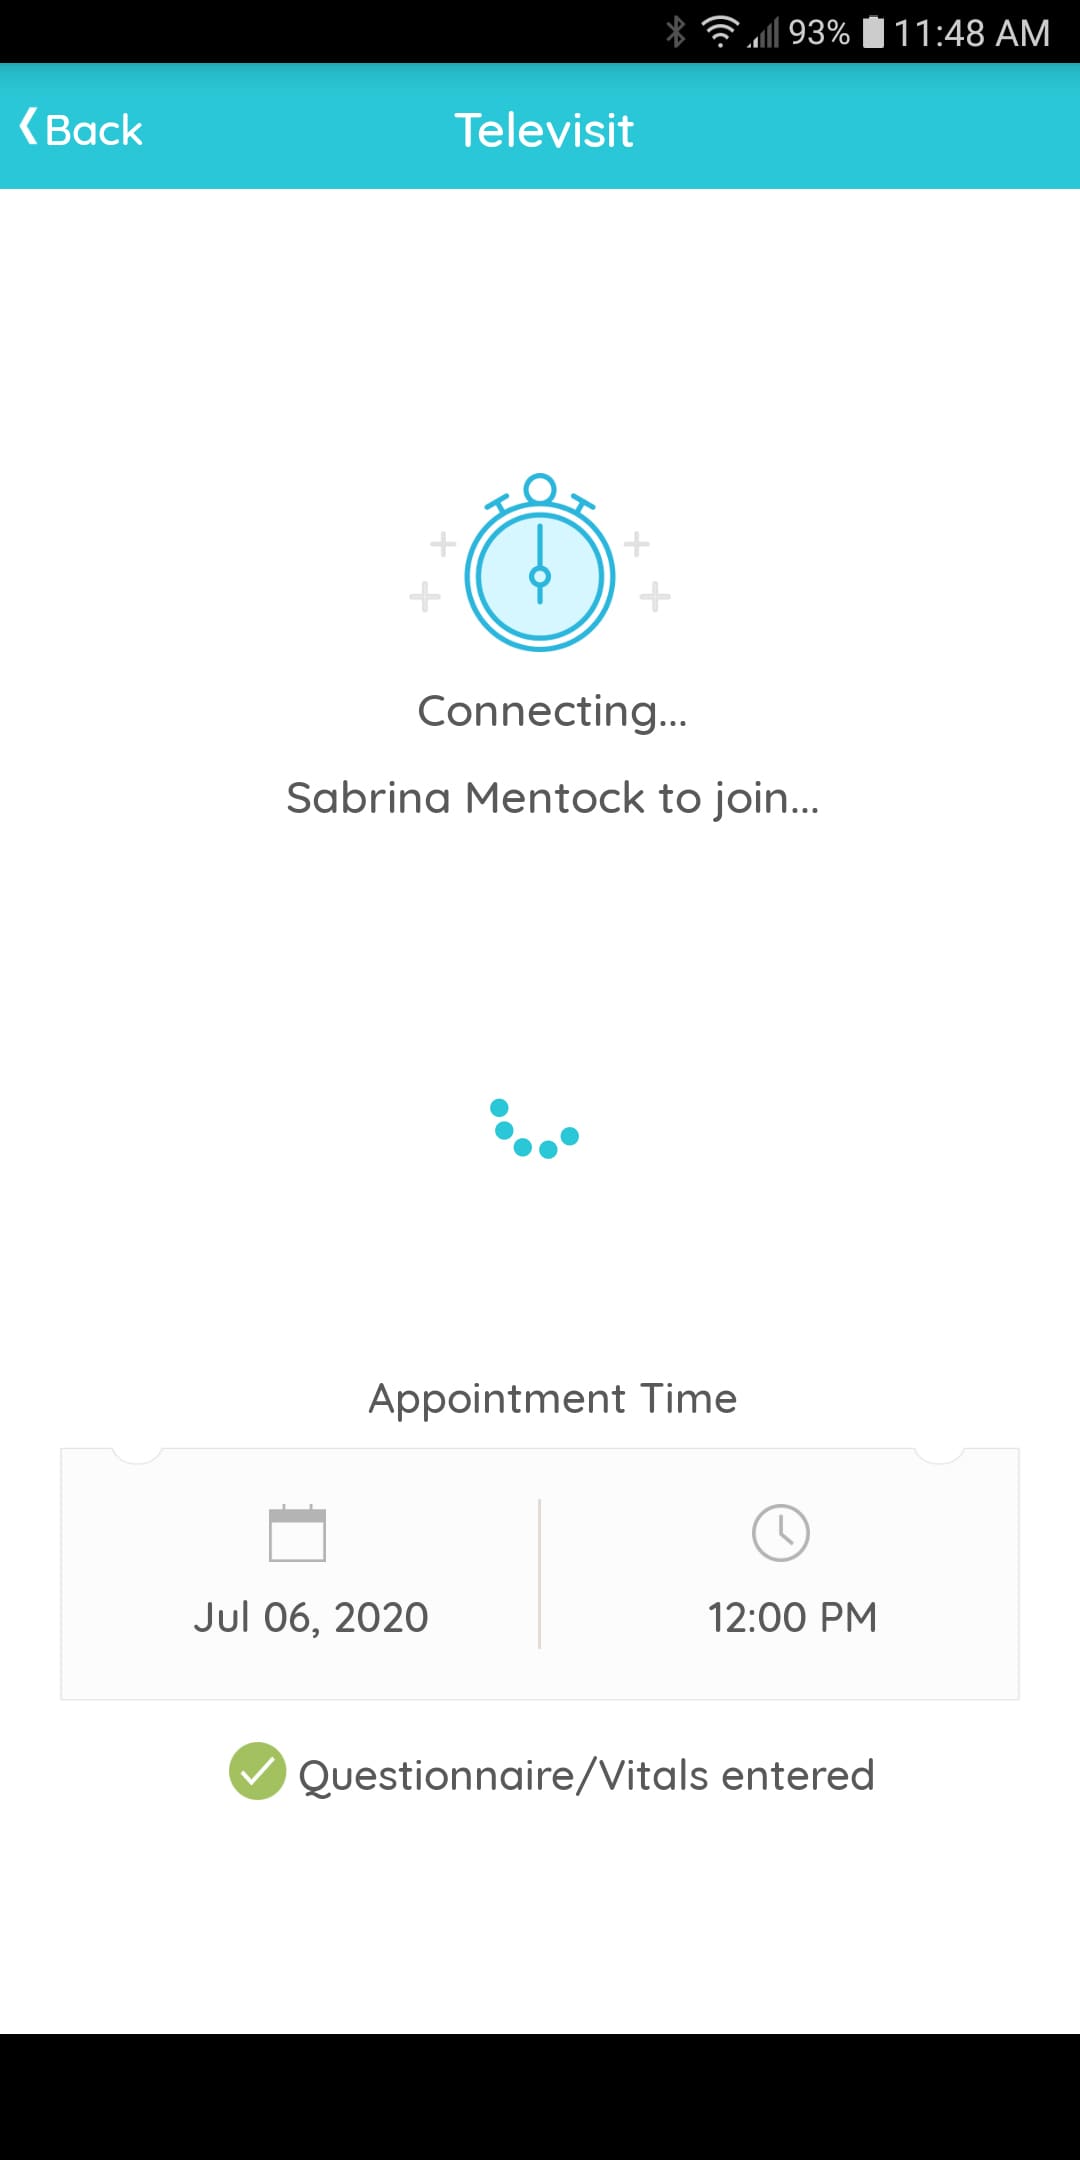
STEP 9: Connect!
Once your provider joins the virtual Exam Room, you’re all set! Make sure your microphone and speakers are enabled, of course. After your visit, our front desk staff will call you within 24 hours to schedule recommended follow-up visits, notify you of referrals, verify instructions, and collect any co-payments or deductibles owed.
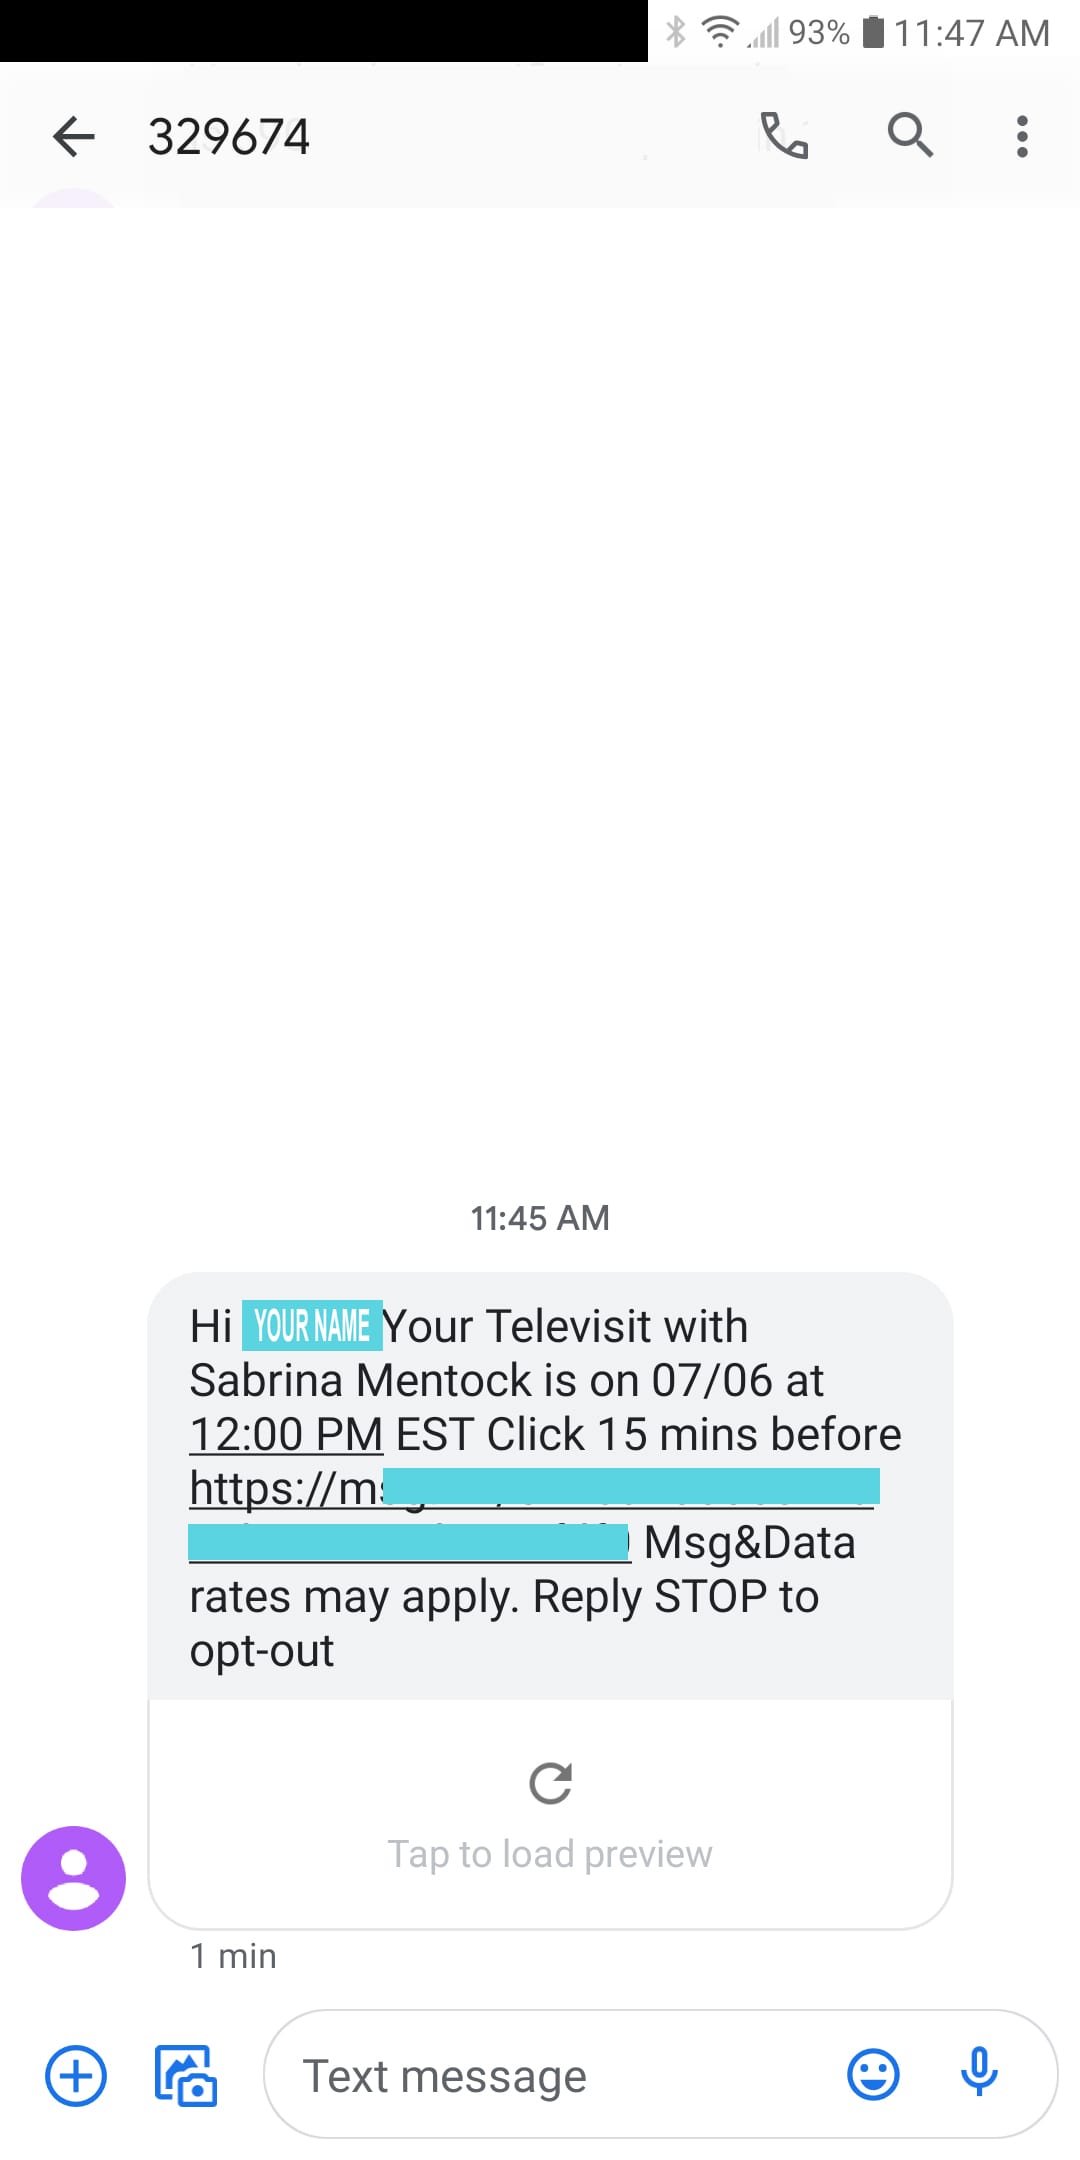
Alternative to Step 3: Click on the Text Reminder to join the TeleHealth visit on your App.
15 minutes before your TeleHealth visit, you will receive a text message, if you have not already joined the appointment. This message will have a link to your patient portal’s account and (basically) start you at Step 4. If you have already enabled the app and logged in once, this link is very helpful to quickly join an upcoming appointment and skip some of the preliminary registration screens.
Joining a TeleHealth Visit on the Computer
This section covers how to register, check-in, and attend a scheduled video conference with your primary care provider by using a webcam-enabled computer.
STEP 1: Login to Patient Portal and Check Your Email
If you already have a Family Care Patient Portal account, joining from a computer is easy! You can login to your account and basically follow the same steps as the smart phone login,
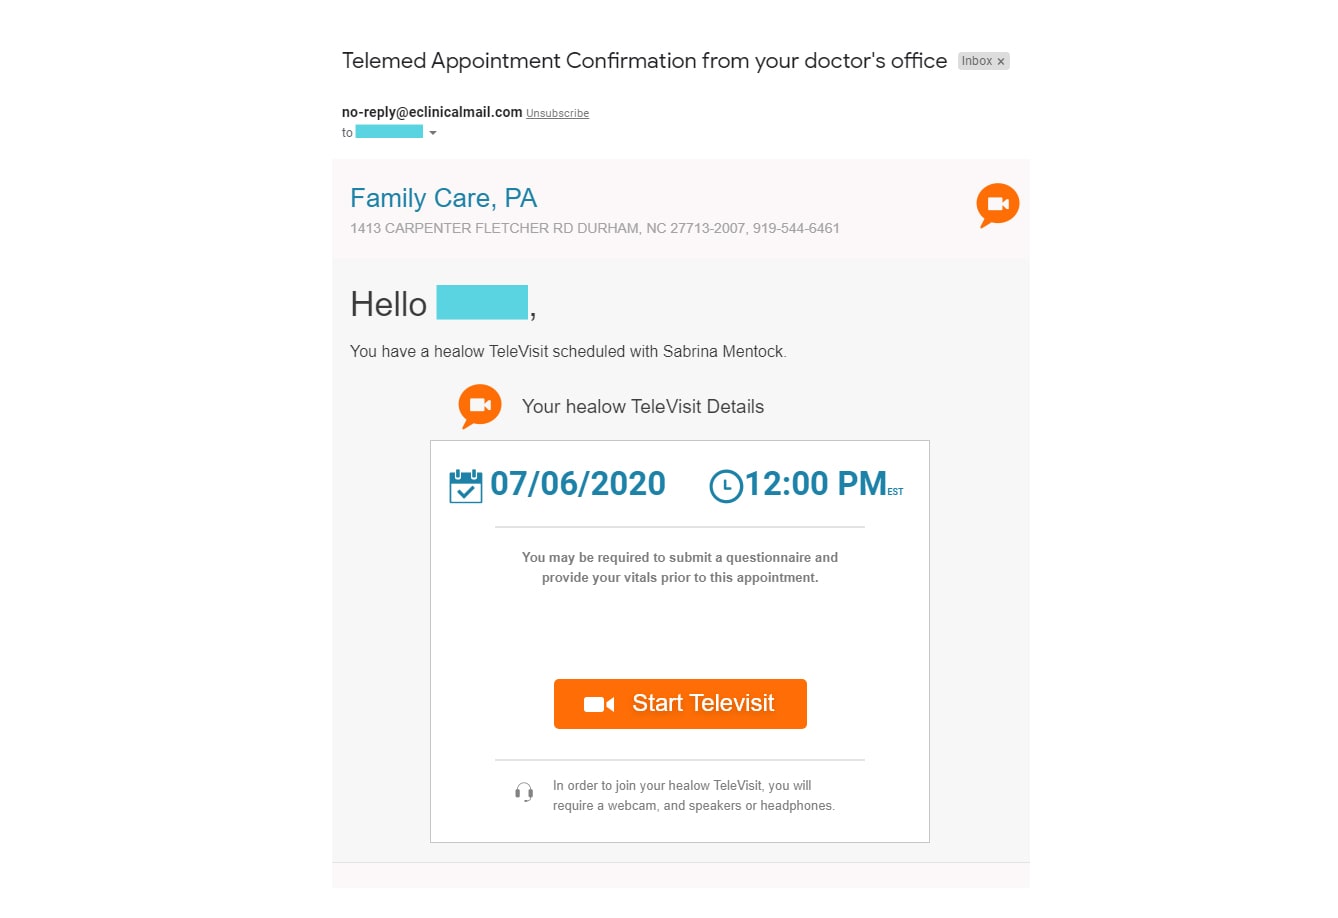
One benefit to using a computer is being able to take a shortcut directly to your TeleHealth visit by clicking on our automated email that should arrive 30 minutes prior to your appointment. If you are already logged in to your portal account, clicking this takes you directly to the visit’s Waiting Room and you can skip most of the steps above!
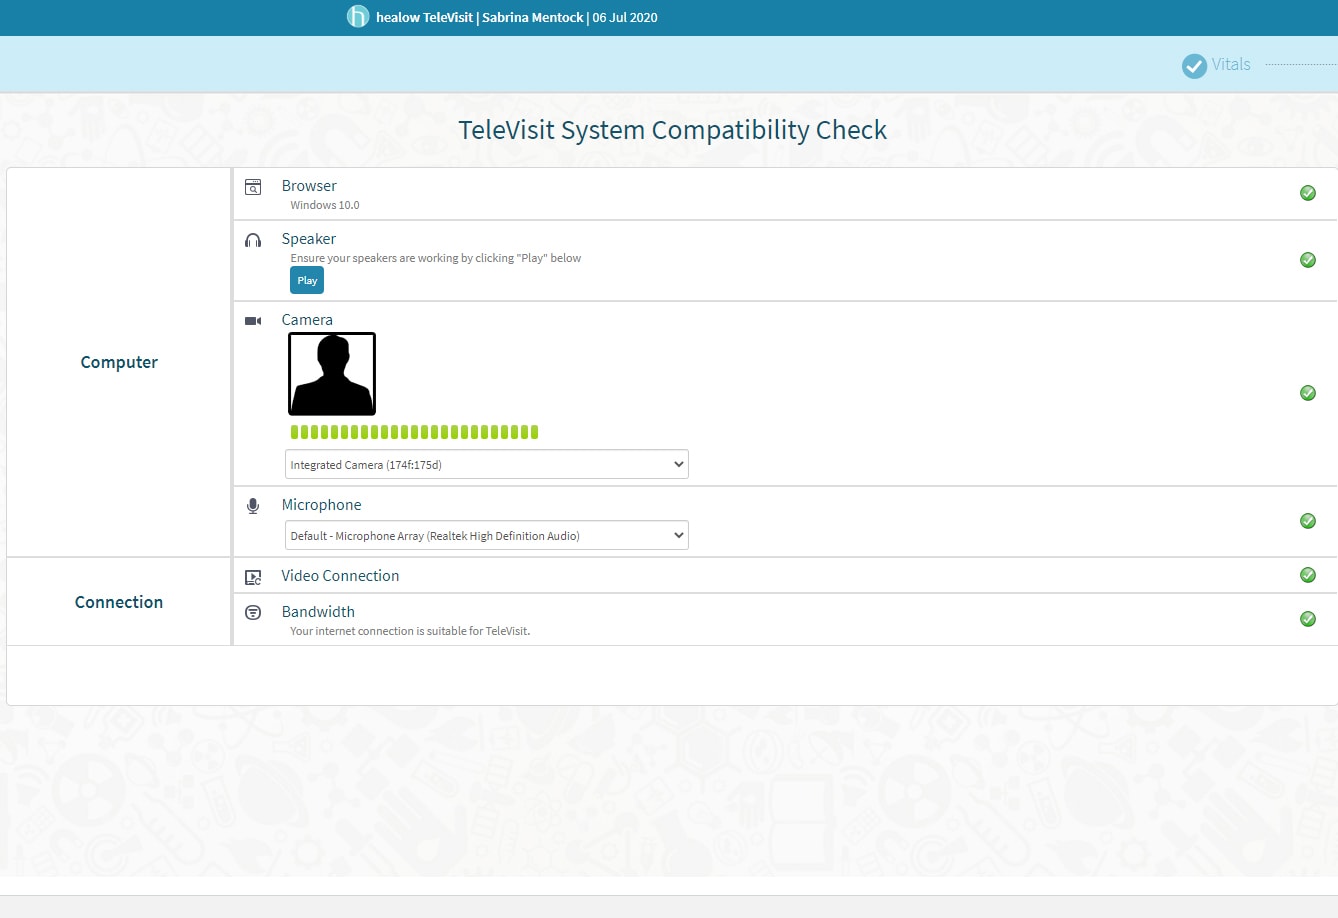
STEP 2: Calibrate Your Settings
To be sure you have the proper audio and video equipment enabled on your computer, the Portal will send you to a verification screen the first time you set up a TeleHealth visit. If you get all Green Checks, you’re ready to go!
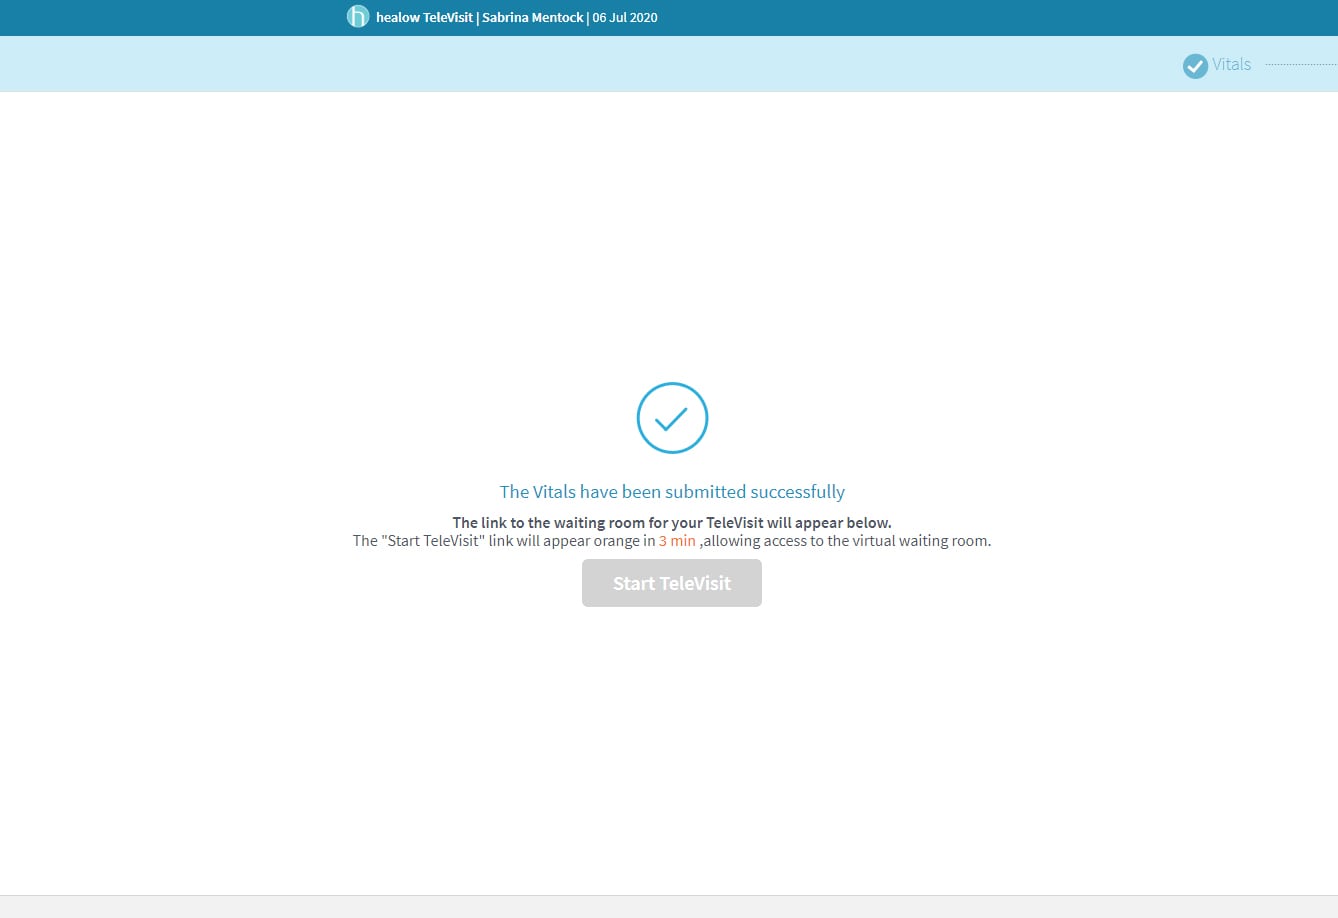
STEP 3: Join the Waiting Room
Once you reach this stage, your provider receives a notice saying you are ready for the visit. They should be able to join shortly after you arrive and may attempt to start the visit early, but most likely will join right around the actual start time of your visit.
If you have any questions, please call 919-544-6461! Thanks!